
📽️Watch Video Here📽️
Creating a Custom Attribute- Go to Settings > Admin > Custom Attributes.
- Click to add a new Custom Attribute.
- Label the attribute (e.g., "Hazmat").
- Choose what it applies to: Load, Truck, or Trailer.
- Choose the field type: Multi-select, Text, Number, or Date.
- If you choose Multi-select, add your options (e.g., Yes / No — you can add a third option if you need one).
- Click Save (or Update if editing an existing attribute).
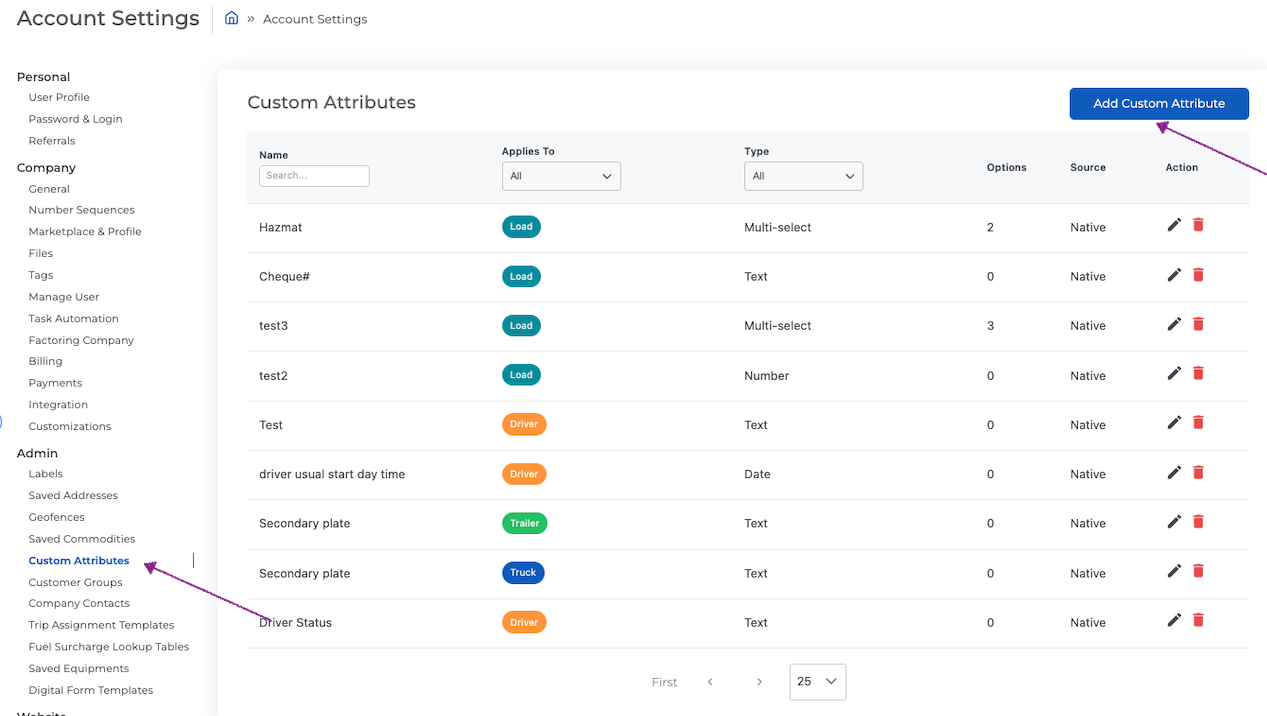
- Attribute: Hazmat
- Applies to: Load
- Field type: Multi-select
- Options: Yes / No (add more if needed)
Example: Tracking a Secondary Plate
- Attribute: Secondary Plate
- Applies to: Truck and Trailer
- Field type: Text, Number, or Date — whichever fits what you're tracking
- Go to Dispatch.
- Open the load you're building or viewing.
- Go to add attribute on the load.
- Select the attribute and set its value (e.g., Hazmat: Yes).
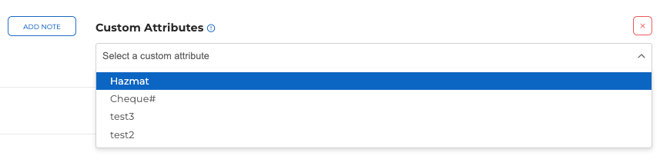
Anyone who views the load will see the attribute and its value.
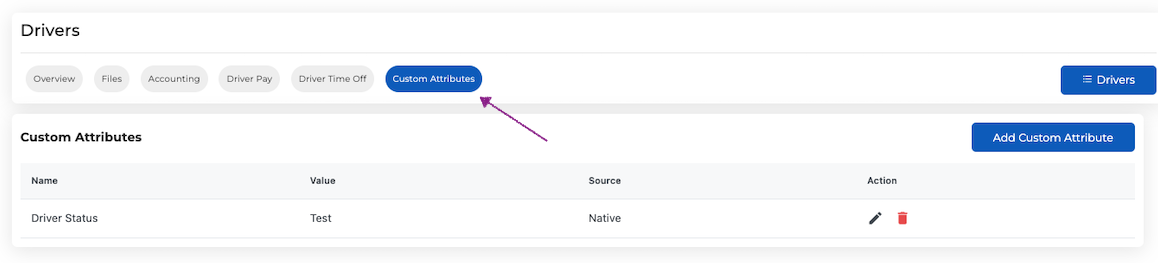
Adding a Custom Attribute to an Asset (Truck/Trailer)- Go to Trucks (or Trailers).
- Select the specific asset.
- Go to Custom Attributes on that asset.
- If the attribute isn't assigned yet, add it.
- Select the attribute and enter the value.
For questions reach out at help@truckpedia.io